Sunday, January 18, 2015

... and now we have drywall

Nothing exciting here... Except for 46 sheets of love!
The wall sheets were 54" by 12 ft.  Interesting getting those downstairs.
... and no, I didn't do it.
Ive done my fair share of drywall in my time (I even did some in my current house), but because of time and my lack of energy, I had a couple of friends take care of business!


Saturday, January 10, 2015

Insulation

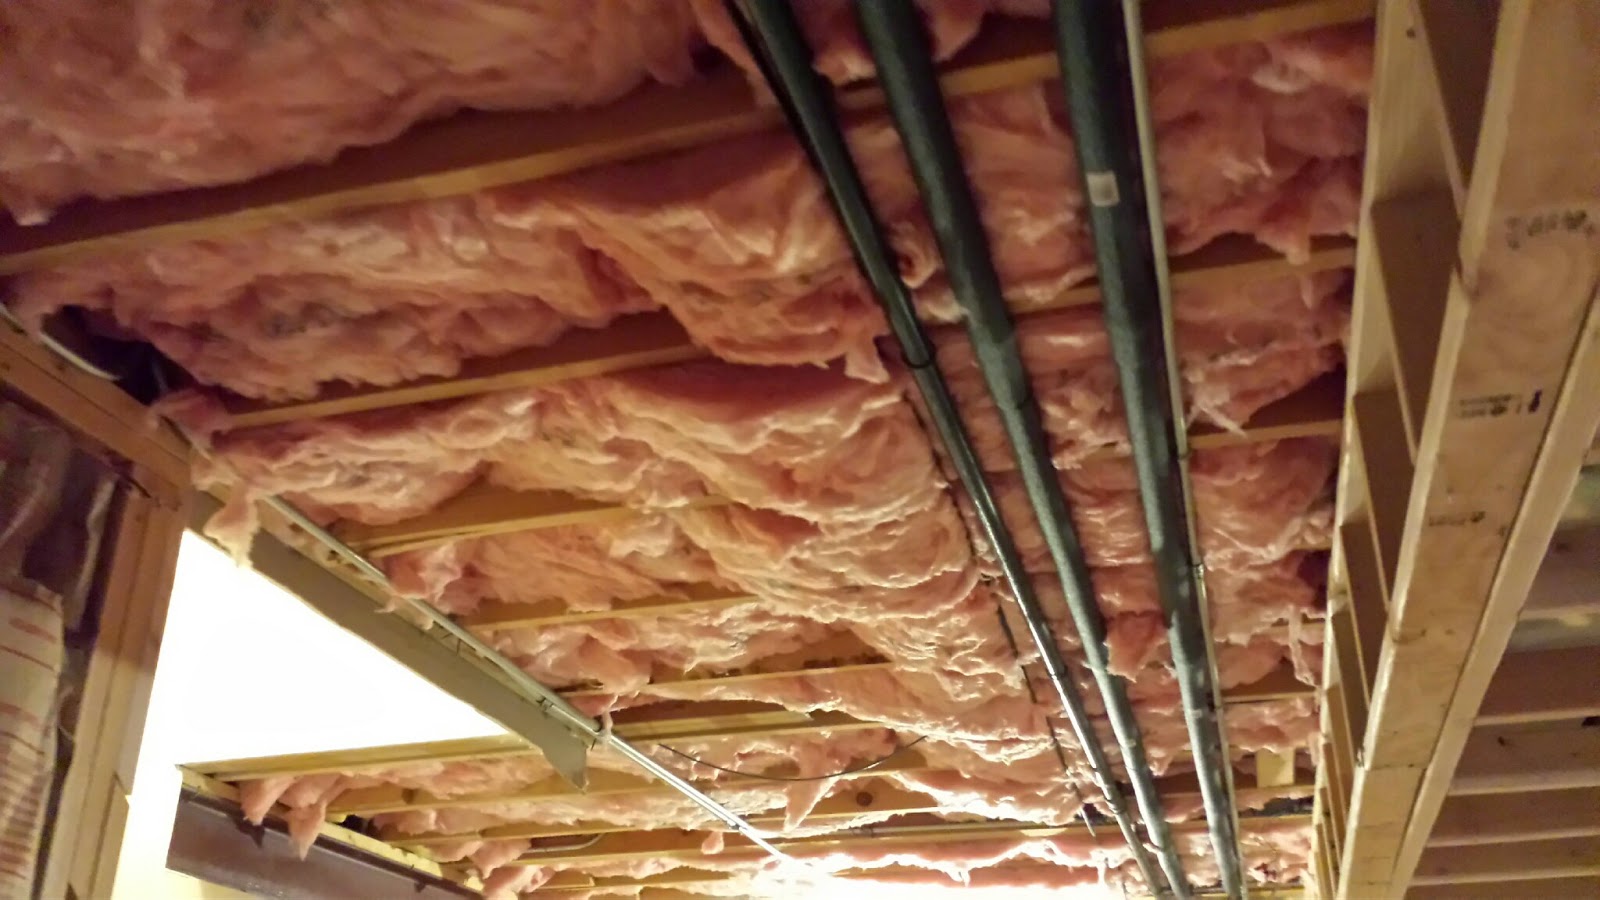
I think that an often overlooked element of basement construction is insulation.  Not only from a heat retainment standpoint, but from a vapor and sound standpoint.

I spared no expense here.  R-30 on the ceiling and on outside walls.  Plastic vapor barrier on the outside walls too.  R-13 on inside walls:


Thursday, January 1, 2015

What about them poles??

I had to wrap the poles in wood so that they could be drywalled.  I am not exactly sure what we are going to do with them, but they are at least going to be drywalled.

I took four 2X6 pieces of lumber and placed one on each side.  The encased the pole perfectly, and I didn't have to cut anything except for the height.  Look closely at the positioning of the wood to make this work properly.


Interesting thing - There was a little play in the posts, but after securing them at the top they didn't move too much.  Well, they aren't supposed to move at all and it was the lack of anchoring at the bottom that needed to be fixed.   Instead of messing around with anchoring them to the ground, what I did was drilled a hole about a foot higher than the ground, and then squeezed a bunch of liquid cement inside, so that it wrapped around the pole inside of the 2X6 structure.  Its solid as a rock.

Sunday, December 28, 2014

Soffit

Because of the duct work running through the basement, I had to create a soffit to hide everything.
In usual fashion, I like to do everything myself, but since the soffit was at the 8ft level, and how I planned to construct it, I was going to need a little bit of help.

First, I needed to create the soffit components on the ground.  I did a typical 16" on center stud wall as seen below.

I had previously created a 12" stud wall and screwed it up to the ceiling to create the sides of the soffit.  That help that I referred to earlier was not in the form of another person, rather in the form of some helper pieces of wood as seen below. 
I took a 2X4 and ran it across where I would need to raise the pre-built soffit pieces.


I propped the one end of the pre built piece on to the stud that I temporarily screwed to the wall components and lifted it up into place.  A few quick screws and voila!


Here are a couple of pictures of the finished soffit:


Wednesday, November 19, 2014

Concrete time!

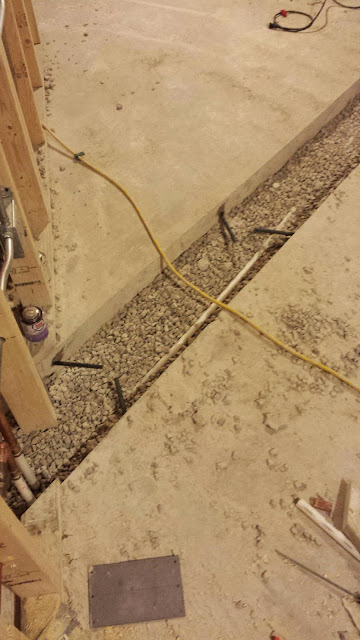
I've got all the plumbing complete, plus an electrical run out to where the island is going to be.  I back filled the trench and have everything tamped down.  The plumbing has been pressure tested too and am confident there are no leaks.


I am not sure if I really needed to do this out not, but usual TJ fashion, I want make sure everything is extra strong, so in order to make sure the new poured concrete doesn't heave or settle, I drilled half inch holes in the side the trench and epoxied rebar into the holes.  That should hold it! (Concrete doesn't necessarily stick together unless you use a bonding agent or pin it like I did).

Now the fun begins!!!  10 bags of 80 lb concrete / mixed in the wheel barrow.
I used a straight finishing trowel for the finish.

Monday, November 10, 2014

More plumbing - Waste Line

Plumbing has never been my favorite thing to do. However, this project is really interesting to me and I am having a good time with it.

Below, I ran the 2" waste line (schedule 40 PVC) to a connector down in the bathroom part of the basement.  This connects in with the toilet and the sink waste line.  You need to make sure the pitch of the waste line is such that the liquid flows down-hill.  I've found that a half-bubble on the level is adequate.  This translates to at least 1/4" of pitch per foot - the minimum required for waste line pitch. I also know that some people don't believe in using "purple primer" when fastening their PVC pipe.  This is a huge mistake as the primer along with the glue makes that joint more solid than the pipe itself.  I've had non-primered pipe come disconnected when there was some stress put on the joint. 

This is the toilet receptacle.  This dude needs to be moved over 26 inches and angled out about 3 inches.  Fancy use of  a 22.5 bend and a 90 degree elbow made it perfect.
 

Saturday, November 8, 2014

Plumbing

Well, its time to pull up some of the floor.  We want to have an island in our basement that will contain our sink and a dish washer.  In order to make that happen, I will need to trench a line from island area to where i will able to get the plumbing connected.  Additionally, I'll be building a bathroom and will need to place a toilet and a sink.

You don't see too many islands in basement, and this is why. It's a mess, but otherwise it's not really a big deal.  I borrowed a concrete cutting machine and a Jack hammer.  Fun tools indeed!
The messiest part was the cut.  We had to use the garden hose to keep the cutter wet to keep the dust down.  In the end, it was still a soupy mess... 
Now it's time to rock! The electric Makita jack hammer worked great and it only took me an hour to get 'er done!

About 23 linear feet jacked. The slab was about 4 inches thick.
I'll be cleaning out the trench tomorrow - digging down about 8 inches.  I'll be running hot, cold, sewer, and an electrical line.

Heating and ventilation

Like I said before, ventilation is something that a lot of people don't think about.  Not only having the supply but, more importantly the returns installed properly is key to having a basement that isn't humid or cooler than the rest of the house.

This will be an air supply for the main area that will vent through a soffit.


As you will see, in the last picture, I had to do some pretty fancy stuff since I wanted to install underfloor heating in my kitchen in the space above.  A return vent that went over to the east side of the building was obstructing the spot where I needed to put an underfloor heating element. Making quick use of some 12 x 3 duct-work and an adapter, I was able to make it all work perfect.
The new return airduct on the right side of this picture is taped up for a reason.  I dont want to get smoke and dust in the air system while I am working in the basement.   Smoke you say? Yes... See next post...

Saturday, September 13, 2014

Carpet

I went with a commercial carpet tile. I've had great luck with rubber backed tiles especially in potentially damp situations. 

I don't plan on it getting damp down there... EVER! but you never know.
Plus it's so easy to install.

You can also see the paint color.

Time for some cove base, and it's pretty much done!

Sunday, August 31, 2014

Walls done and painted

I've got the walls done primered.  We picked out a dark tan paint for the walls and will get that done the next couple of days.
... then, it is time to clean up the for carpet!

Monday, August 18, 2014

Ceiling is done!

I really hate cutting drywall in. Especially on the ceiling now. I had a couple of light fixtures and an air supply that I needed to do, but the drywall lift made it simple!!!

Now time to play with Spackle for the next week or so....   And time to order some carpet!

Ceiling in the storage room

I've never done a drywall ceiling before, and I have to say, this drywall lift is awesome!!  Glue the joists, raise up the drywall and boom!!
You know I like to do everything myself and don't like asking for help, so this makes the job that much better!

Sunday, August 10, 2014

Hearing, Ventilation, Air Conditioning

A lot of people neglect this phase when they are finishing their basement. It is very important to get air flow down in your basement. Mold, rot and various smell will plague you if you don't get this right. I was easily able to tap into some of the ventilation from the upper floor.

Drywall time!

I purchased 20 sheets of 54" drywall / 12 ft sheets.  I wanted to have as few seams as possible and I think when you get it in this size, it is actually cheaper once you are all said and done.


 This is the workshop wall...


This is the wall inside of the storage closet.


Ceiling


I was able to install the furring strips on the ceiling today.  Since I am going to drywall the ceiling (for maximum height, and lower cost) I needed to mount these spacing pieces to the ceiling so that I could put up the drywall without running into problems with the electrical conduit and other things that are already up on the ceiling.