Sunday, May 27, 2012

Five years in the making - Time for a remodel!

Since we have been in our home for about 5 years now, we decided that it was time to do a remodel of our Master Bedroom.  For what ever reason, that was the only room that we didn't have anything interesting as far as the ceiling goes.  We were supposed to have a tray, but when they started building it, they trayed the ceiling DOWN, which meant that the ceiling would be at the 9ft level, and the tray would slope down toward 7.5 ft.   Unacceptable in my opinion, so I had them stop.  That was 5 years ago and I have been thinking about doing something with the ceiling ever since!

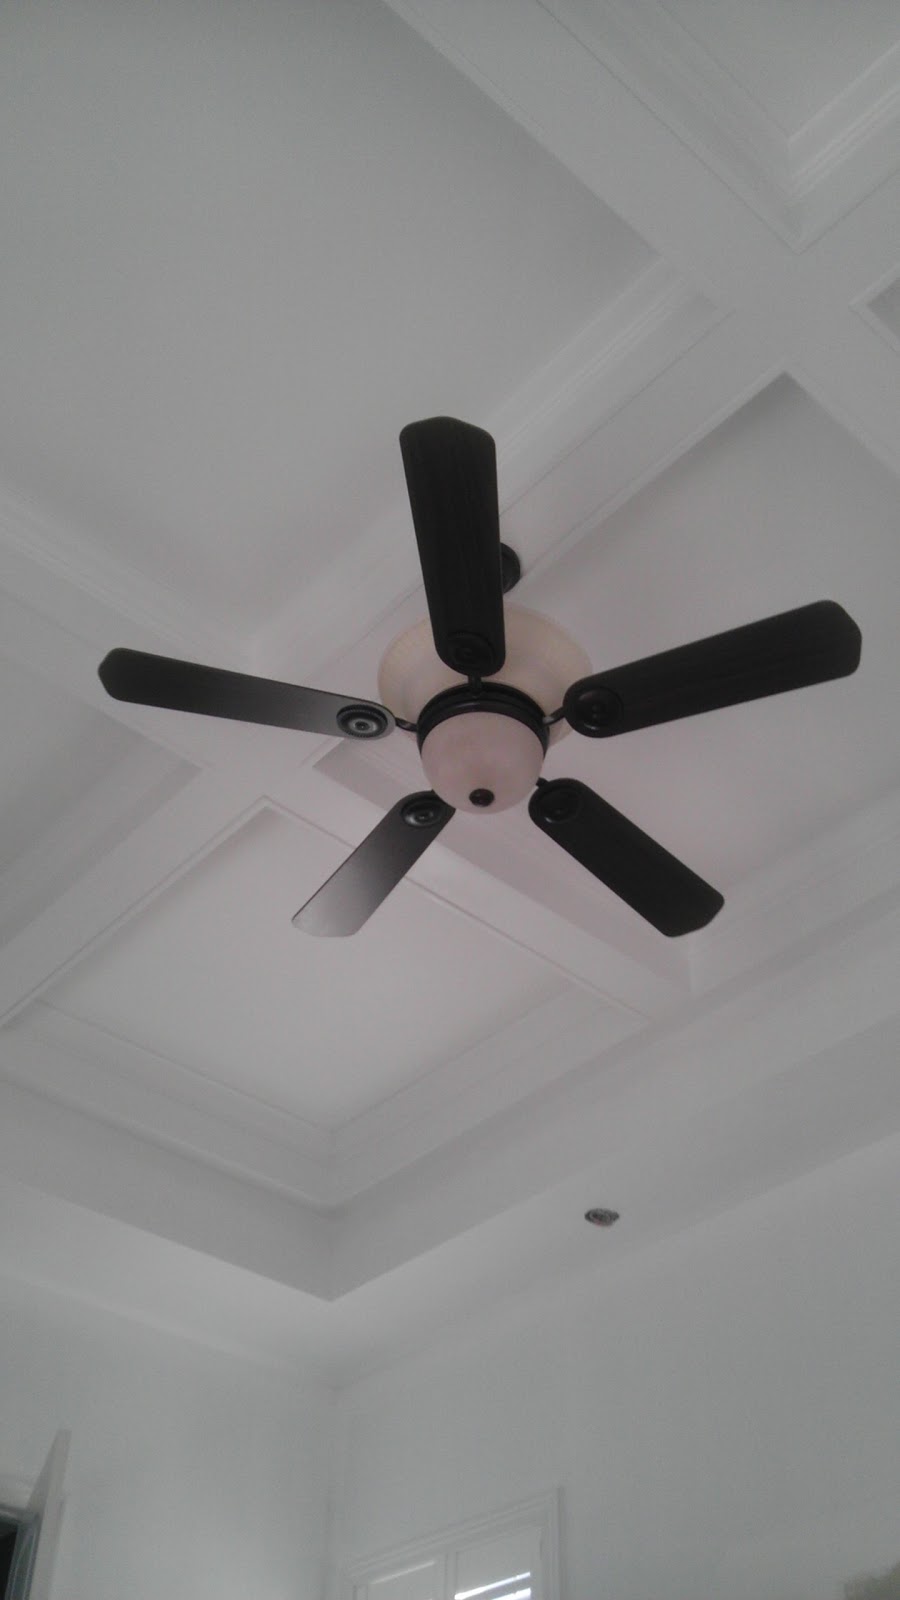
Here is a picture of what the bedroom looked like before.

The cottage look worked for the Cape Cod home in Homewood, but Clair wanted to try her hand at something different.

I wanted something different with the ceiling and Clair showed me some pictures of what she liked.
I had a vision, HOWEVER, Clair had the master plan!!  Wait 'til you see what happened.

(**Pay no attention to the dates on these blogs.  They are arbitrary and are sequenced so that all of the posts are in sequential order.  The FIRST part of this project started the second week of January and took 5 weeks.)

Sunday, May 20, 2012

It all started with the ceiling - Bedroom Project Phase 1


It all started when I took the drywall down off of the ceiling.  One of the hardest parts of the job was to remove all of the blow-in insulation from the attic so that it wouldn't turn in to a "snow fall" when I started to take down the drywall.  It was practically impossible to get it all out of the attic, so as you can see on the floor, there was plenty of insulation falling all over the place as I took parts of the ceiling down.

Check out my time-lapse YouTube video of the tear down:
Youtube Video

Saturday, May 19, 2012

Home Run!!

The unfortunate part of this project is that there were three home runs that went to various sections of the house.  One of the set of circuits came through the ceiling fixture in the bedroom.  Since the fixture was going to have to be completely moved, this was going to add to the work.  One of the home runs had wire going from the electrical box to a junction box about 60 feet away.  A challenge indeed!

Friday, May 18, 2012

Re-Run

Believe it or not, one of these conduits was completely empty, so that was awesome - I just eliminated it and focused on the other three and how I would re-route the circuits for the second floor and the south east part of the house (consisting of the bathroom and master closet).

Thursday, May 17, 2012

Garbage control


In typical fashion, I didn't get a dumpster.  I didn't want to draw any attention to the fact that I was just going to do a little drywall patch work in my bedroom, so I packaged all of the garbage in 55 gallon heavy duty trash bags.  Over the next 4 weeks, all 11 bags eventually were taken by the regular garbage man. :-)

At this point, I believe it is sometime at the end of January - Notice the snow on the porch.

Wednesday, May 16, 2012

Ready to rock!

Well, this is what the ceiling looked like when I pulled all of the drywall down.  All that is left to do is to remove these rafters and raise them up about 18 inches.  BUT, there is a problem.


The right side of the rafters are integrated into the structure of the wall, so I will have to cut them out...  Which will make the rafters shorter than what I need.  Paul comes through with exactly the number of 2X8 boards I need.

Tuesday, May 15, 2012

New ceiling height

The new rafters are put into place and the old rafters are cut out.  I left 18 inches on either side so that I can fabricate the soffit from those pieces that are already fastened to each wall pretty well.  Building the soffit this way will also make it easier for me to fabricate the soffit by myself, since I do all of my work solo.  :-)
You will notice that I left one of the home runs that goes to the second floor - since that will be the most difficult and require me to get enough wire to complete that re-run since I will be lengthening the run because of the added height of the ceiling.

I was originally only going to raise the ceiling 10 inches, but decided that I could definitely raise it about 18 based on the 2X12 roof rafters and how they will intersect the room.  What I didnt count on - after everything was done - was that I actually had a 2X14 hip rafter that protrudes into the room!!!!  See the next pictures - What to do!?!?!?!?

Monday, May 14, 2012

Drywall time

The vertical part of the soffit was put up, and drywall started to be hung.  Everything is starting to take shape!


And finally all of the drywall is hung and taped!

But WAIT - Whats that over there in the corner?
Yes, thats the 2X14 Hip Rafter PROTRUDING INTO MY PERFECT ROOM!!!


Sunday, May 13, 2012

Coffer Time!

I almost dont want to mess around with what turned out to be a very, very nice job done by the drywallers.  (Yes, I didnt do my own drywall.  I wanted this to be perfect, and my drywall skills are a little dated.)
But, its time to put up the supports (2 X 6 lumber) that will eventually support the 1X6 stock that make up the box beams.


There is nothing like starting with a completely level situation.  Everything else fits into place nicely!


Here is that hip rafter that was protruding into the room.  Almost gone.  A little crown molding and it will be gone!

The ceiling fan will be hanging from one of the box beams.  Since the beams will be painted and there will be seams, I didnt want the vibration of the ceiling fan start to create stress cracks in the seams of the box beams, so I had an electrical box fabricated so that it fastens to the electrical box at the ceiling level and hangs from that!

One of the corners of the room from the bottom


Saturday, May 12, 2012

Paint Time

To make wood work look that much better, I always believe in spraying woodwork.  I had a friend of mine that does painting for a living stop by and spray the box beams for me.  While prepping for this, I masked the carpeted floor so that no paint would get on it.  From the looks like it, it was air tight.  The furnace kicked on!

The ceiling turned out great!

I primered all of the walls and put up the ceiling fan

And THATS only Phase one!